Prerequisites
If you want to successfully block releases and never have them pop back up in your queue, you need to do the following:
Configure Prowlarr
If you are using Prowlarr as your indexer manager:
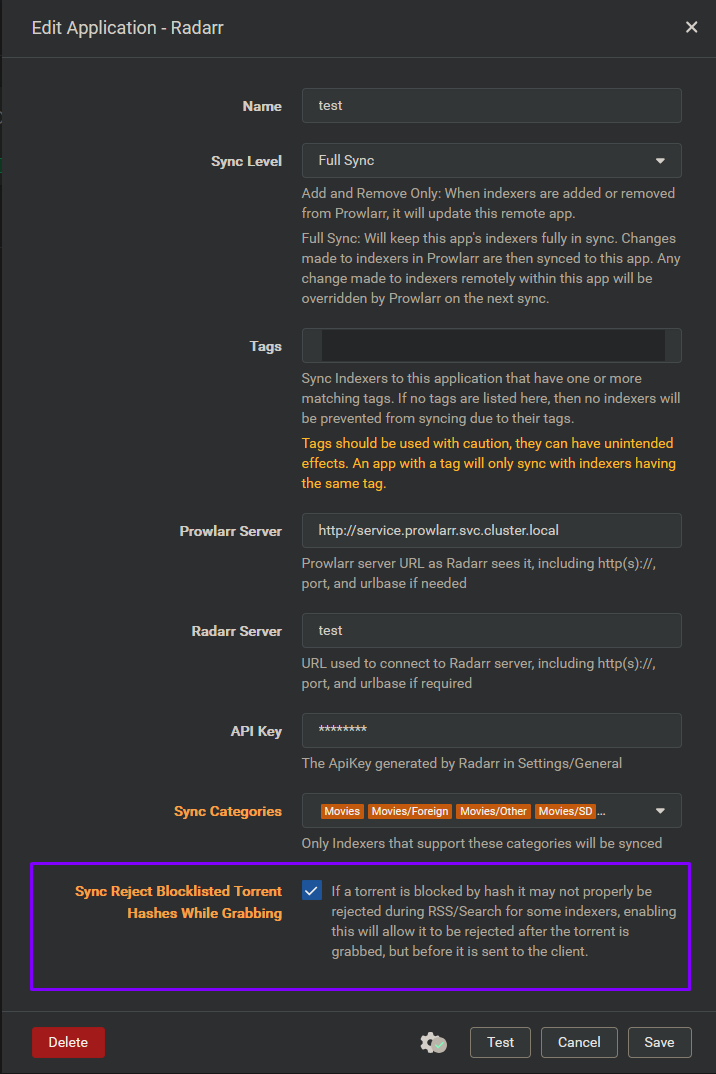
- Go to Prowlarr
- Navigate to
Settings - Navigate to
Apps - Enabled advanced settings by clicking on
Show Advanced - Edit app
- Enable
Sync Reject Blocklisted Torrent Hashes While Grabbing
Repeat steps #5 and #6 for each Prowlarr app you have configured.
Configure *arr
⚠️Important
If you are using Prowlarr, this step is not necessary.
If you are using Sonarr/Radarr/Lidarr/Readarr/Whisparr as your indexer manager:
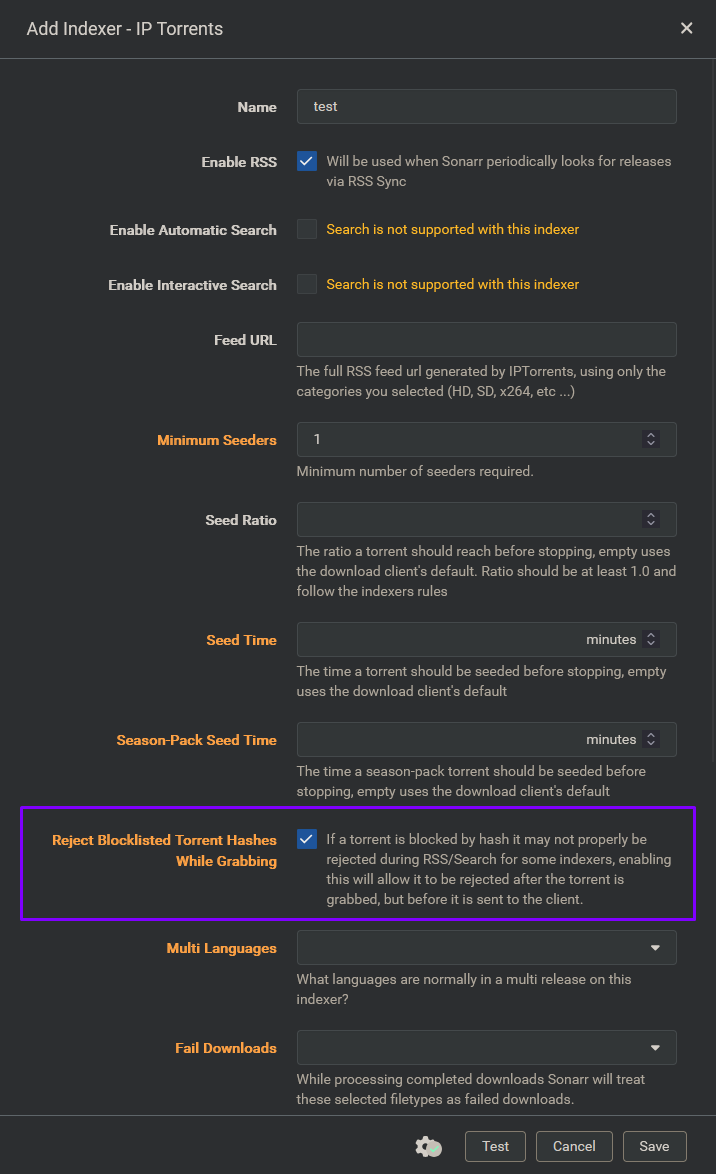
- Go to Sonarr/Radarr/Lidarr/Readarr/Whisparr
- Navigate to
Settings - Navigate to
Indexers - Enabled advanced settings by clicking on
Show Advanced - Edit indexer
- Enable
Reject Blocklisted Torrent Hashes While Grabbing
Repeat steps #5 and #6 for each indexer you have configured.